Anna Griffin 12 x 12 Scapbook Layout

| Uncategorized

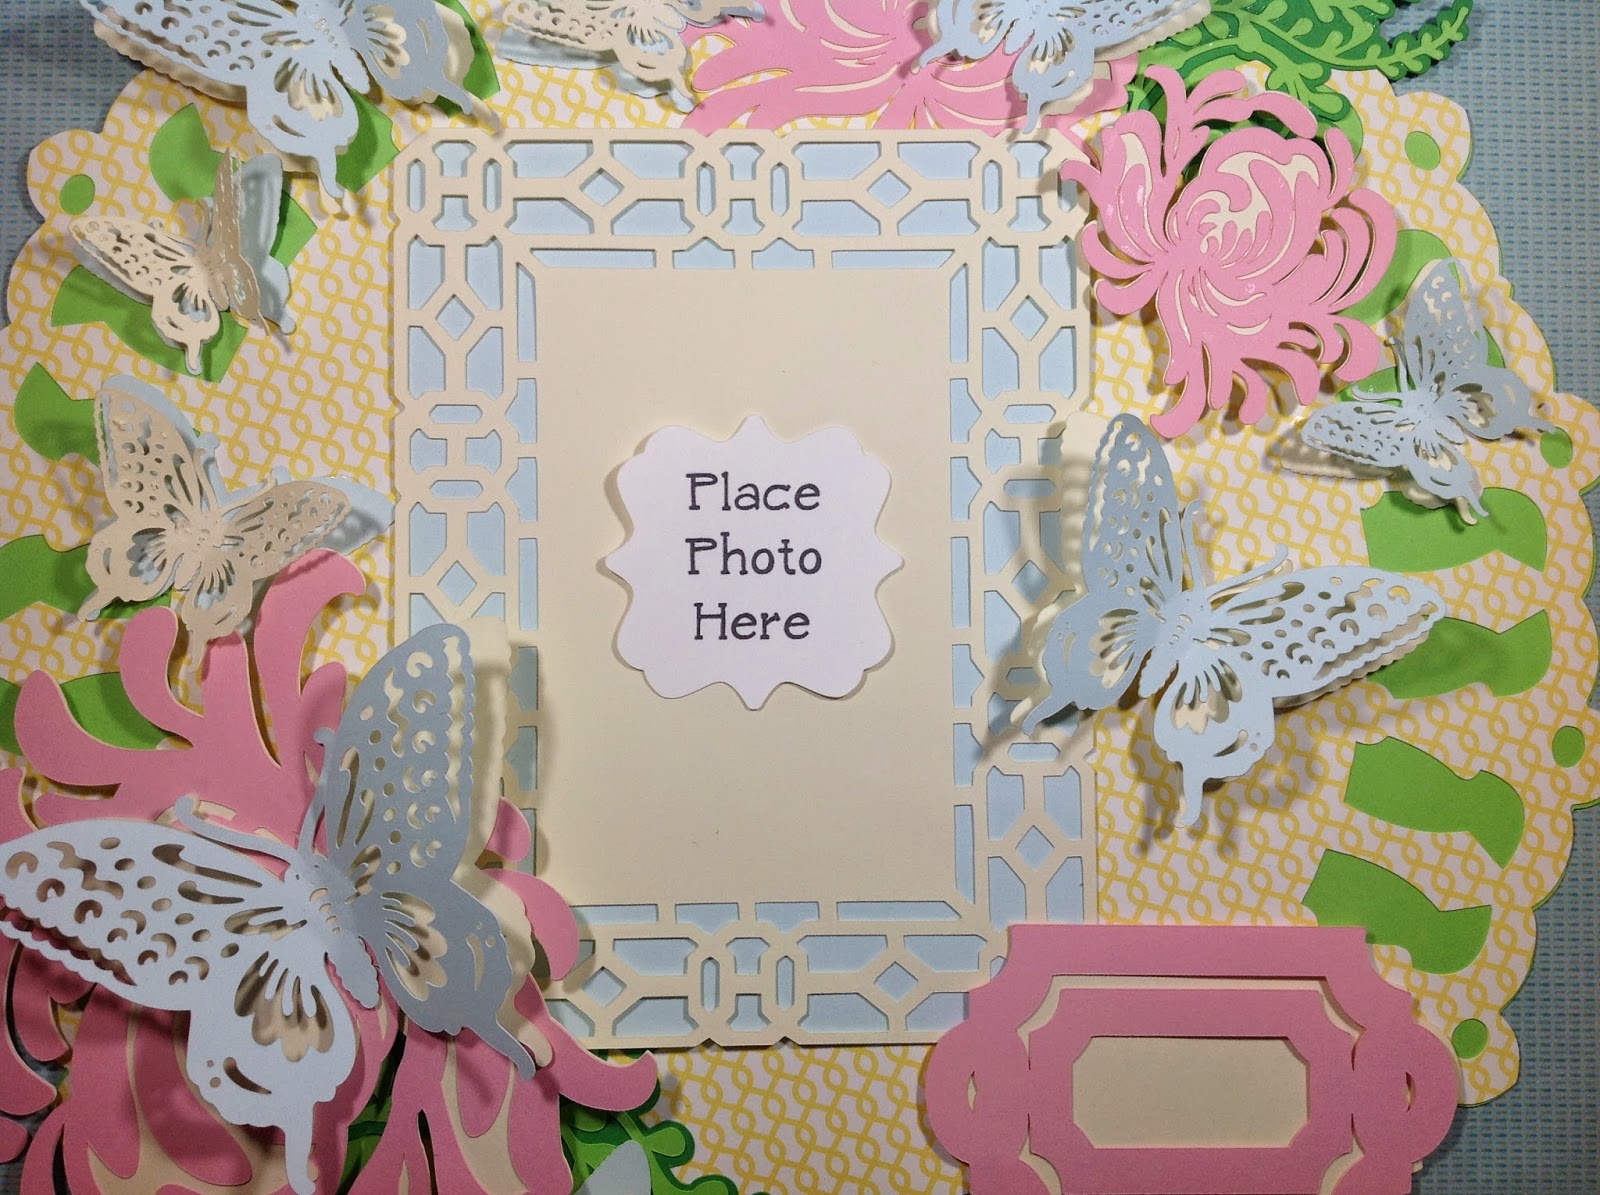
Today I worked on a 12 x 12 Scrapbook layout. This is an Anna Griffin layout in the Make it Now section in Cricut Design Space. 


This was a great project and super easy to put together. 


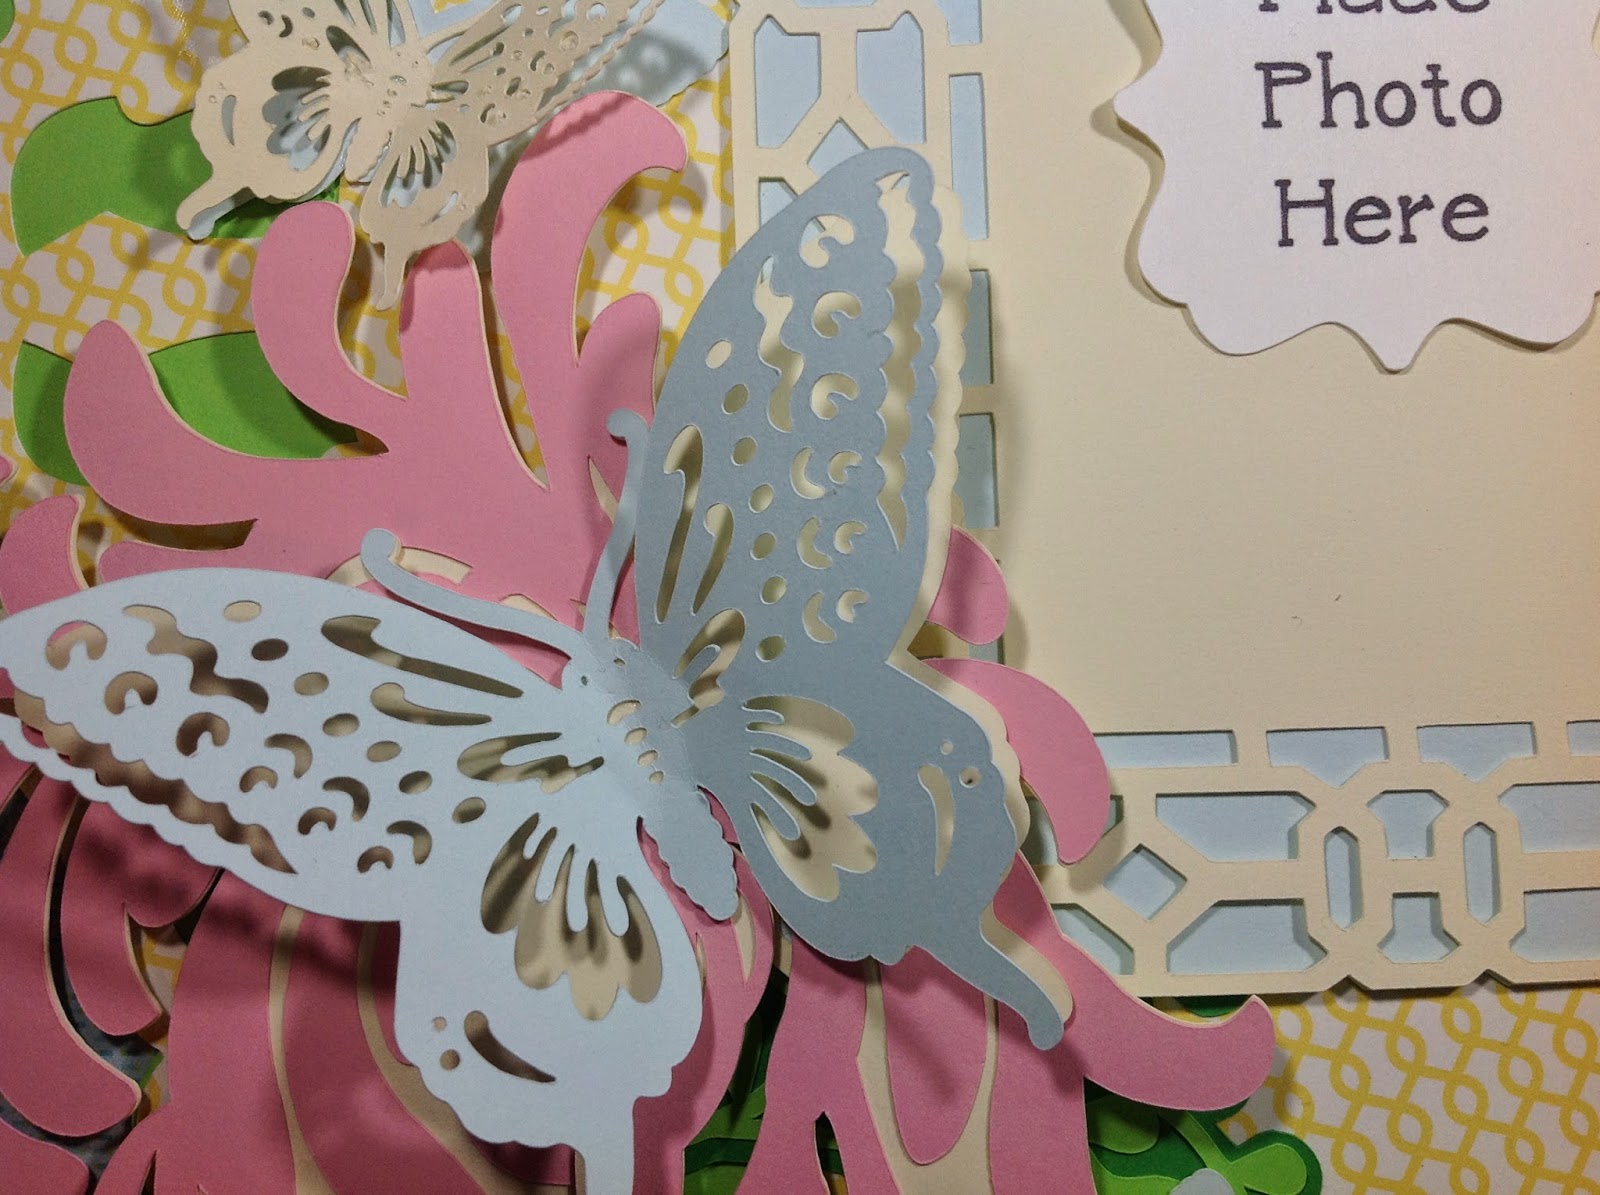
I love the details and the intricate butterflies that cut so well on the Explore. 


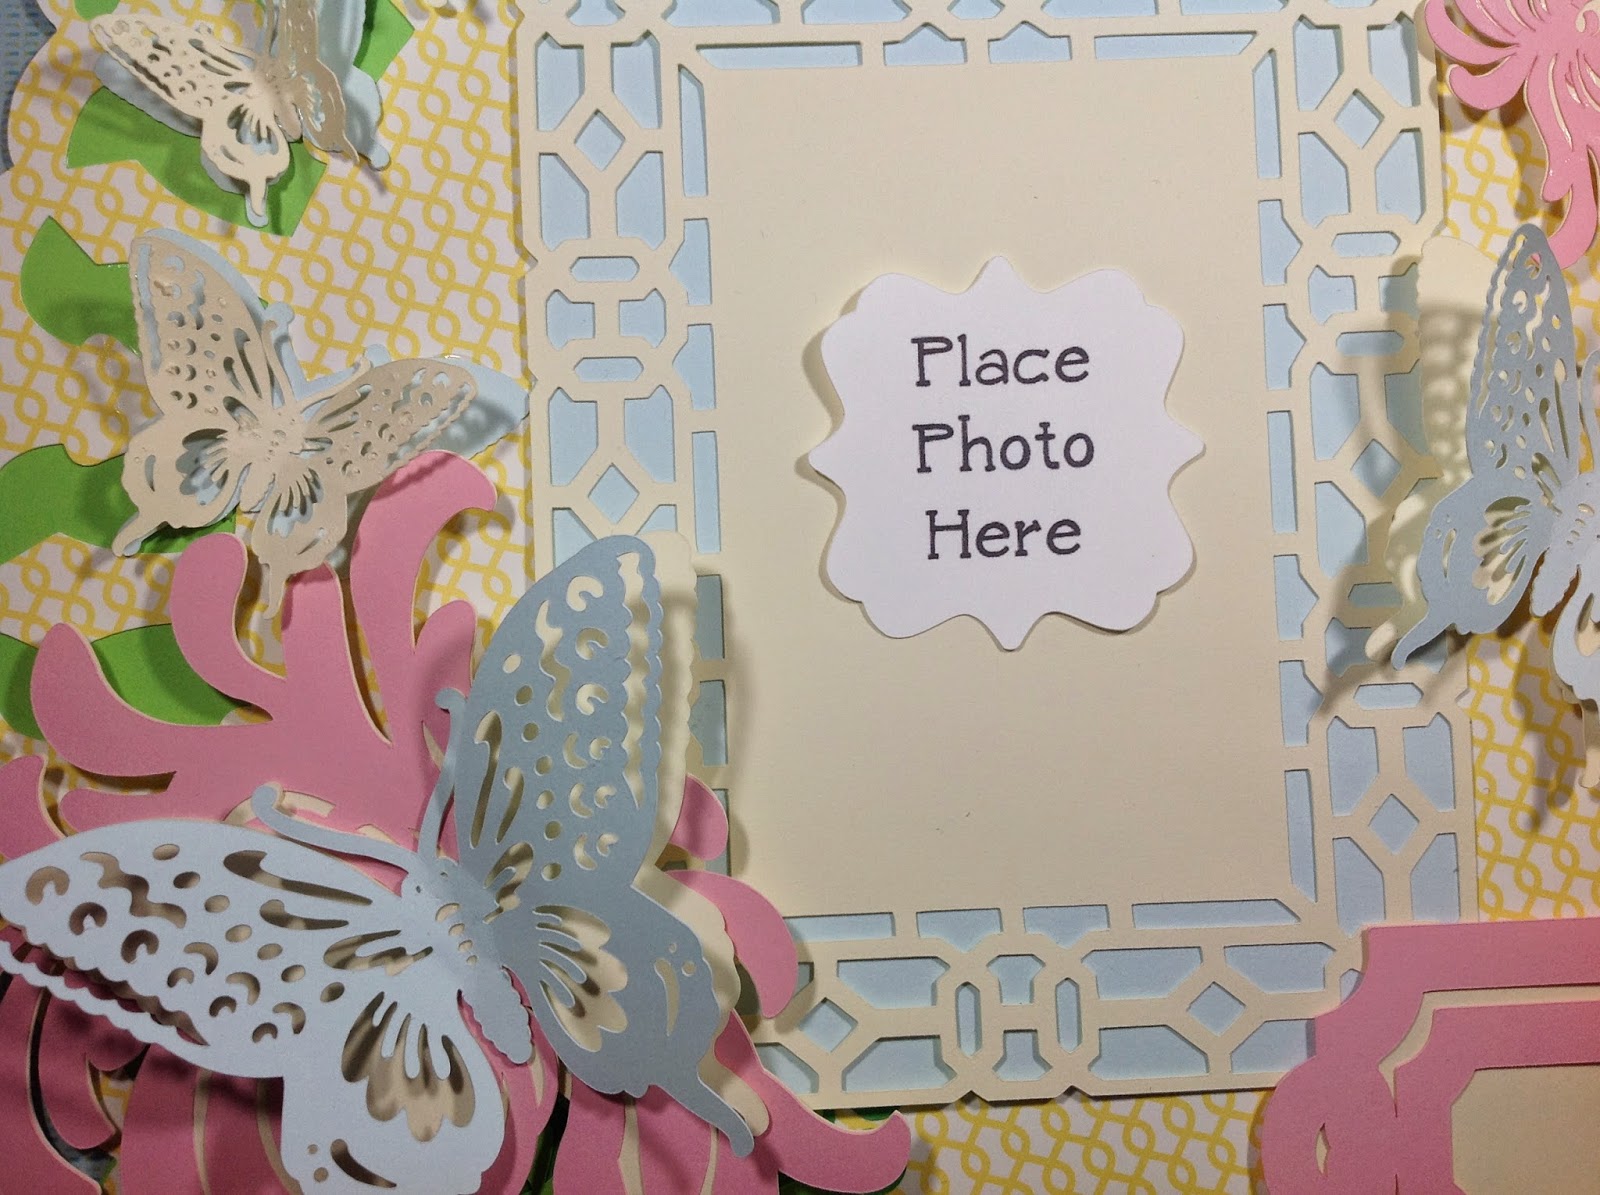
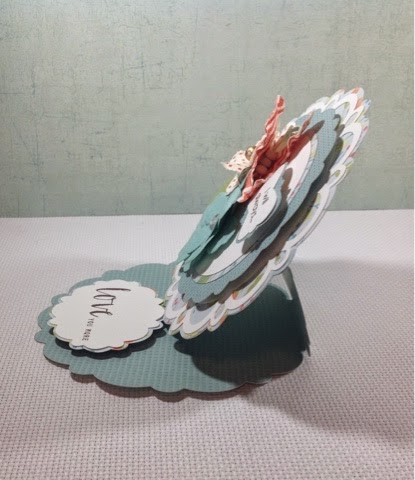
I left the sentiment blank as I am not sure what picture I am using for this layout. Once I decide I will either add a stamped sentiment with one of  my Close to My Heart stamps or print and cut a sentiment with my Explore.


Here is a close up of one of the butterflies, Love the dimension!


Thanks for stopping by!
Rina

I also linked up to the following linky parties-

http://www.jwscrapshack.blogspot.com/2015/04/ffc-83-florals-butterflies.html

2 Comments

Double Side Pocket Cards

| Uncategorized

Today’s project is a Double Sided Pocket Card x 2. 


Each card measures 6 inches by 6 inches and has a pocket on the outside with a tag and a pocket on the inside for a gift card or other goodie. 

The first card I made for my niece who is celebrating her 5th birthday this weekend. I haven’t decided what goodie to put inside yet but I’ll add something before I give it to her.

The uber cute stamp I used is from Close to My Heart, the Cricut Artiste Collection Birthday. You can pick it up using my Close To My Heart link to the right.

The Choose Happy Card is listed in my Etsy Shop. This one has paper flower, lace ribbon and doily embellishments. 
Hope you enjoyed my project. Thanks for stopping by!

Rina


http://heartbrokendesigns.blogspot.com/2015/04/double-side-pocket-cards.html


I also linked up to the following linky parties-
http://www.jwscrapshack.blogspot.com/2015/04/ffc-83-florals-butterflies.html

2 Comments

You’re My Cup of Tea Explosion Box

| Uncategorized

Explosion boxes are so much fun. You can add pictures, journaling notes or other mementos and give to someone special to brighten their day. This box is no different and since I have started drinking so much tea lately I thought this would be the perfect theme.


I used the “Tea Party” card stock pack from Craft Smith and cut the explosion box and panels on my Cricut Explore. The teacup came from the Silhouette store. 
The explosion box is 4 x 3 7/8 when closed and when open and fully extended, it is approximately 15 1/2 by 15 1/2 inches. 
The center of the box has a cute teacup with tulle and rose decoration with pop out “You’re My Cup of Tea” and Tea cup embellishments. 
I hope you enjoyed my project.

Thanks for stopping by!

Rina

http://heartbrokendesigns.blogspot.com/2015/04/you-my-cup-of-tea-explosion-box.html

I entered the following challenges-
http://decoratetocelebrate.blogspot.com/2015/04/challenge-97-anything-goes.html
http://www.jwscrapshack.blogspot.com/2015/04/ffc-82-anything-goes-some-exciting-news.html
http://www.craftindesertdivas.com/2015/04/craft-it-up-link-it-up-anything-goes.html

10 Comments

Frilly Easel Cards

| Uncategorized

So happy to be posting my Frilly Easel Cards today! The SVG is from My Scrap Chick. I used my Cricut Explore to cut out the file and then embellished the easel cards with flowers, lace, tulle and mini jewels.


First up is my favorite… at least I think this one is my favorite. I just love them all! I used the My Reflections Blossom Card Stock from Close to My Heart. I absolutely love how this paper cuts so smoothly on my Explore.


Next up are two Mother’s Day Cards.


These cards are dimensional and make great keepsakes. You can easily put them on display.


Each Easel Card measures 5 in by 5 in and they are all listed in my Etsy shop at http://www.etsy.com/shop/LoveMeKnotsbyHBD


I hope you enjoyed my project. Thanks for stopping by!

Rina


Comments Off on Frilly Easel Cards

Center Step Cards with My Bestie Images

| #sherribaldy #cricutexplore

I absolutely adore Sherri Baldy’s My Bestie images! I used these four super cute images and made center step cards. 

I uploaded and cut each image out on my Cricut Explore and then colored each image with my Spectrum Noir’s. I also used my Explore to print and cut the sentiments and made some of the paper flowers with my Explore as well. 


The first card is for my sissy just because she is so awesome. She loves green so I tried to use as much as I could.
The next card is a Thank You to Rhonda over at Decorate to Celebrate. I was a winner on one of her challenges and she sent me an adorable Heart mini album so this card is going to her.
This last two cards will both be posted in my Etsy Shop today. https://www.etsy.com/shop/LoveMeKnotsbyHBD
The first is my “Queen for a Day” card.
The second is my “Thinking of You” card.
Hope you enjoyed my projects.

Thanks for stopping by!

Rina


http://heartbrokendesigns.blogspot.com/2015/03/center-step-cards-with-my-bestie-images.html

P.S. I also linked up my cards to Decorate to Celebrate. You still have time to get crafty and link up also. http://decoratetocelebrate.blogspot.com/2015/03/challenge-96-anything-goes.html
I entered the following challenges-

Jo’s Scrap Shack- http://jwscrapshack.blogspot.com/2015/03/ffc-80-special-birthday.html

7 Comments

Dream Big Mini Album

| Uncategorized

I love working on mini albums! Sometimes they take me much longer than other projects but the results are always fabulous.


Here is my newest mini album…the Dream Big Mini!
It is a paper bag mini album. I made the flowers on the cover with my Cricut Explore as well as all of the tags on the inside.

The Dream Big Mini Album is 8 1/4 by 5 1/4 with a 2 7/8 inch spine. It has 6 sections that each have a pocket and a fold out with 6 pull tags at the top measuring 8 1/4 by 4 1/2 in. 
There are 11 mini tags measuring 4 3/8 by 3 3/8, 6 medium size tags measuring 4 6/8 by 3 1/2 in and 6 by 4 3/8. There are all 6 heart tags measuring 4 inches.
Hope you enjoyed my project and thanks for stopping by!

Rina


P.S. I also entered the Decorate to Celebrate Challenge. There is still time for you to enter also!
http://decoratetocelebrate.blogspot.com/2015/02/challenge-93-anything-goes.html

2 Comments

Paper-craft Love

| Cricut Explore, SVG Cuts, Valentine's Day

Happy Valentine’s Day! I love holidays but especially Valentine’s Day. I am a true romantic at heart, I cry at sappy movies, I love hearts and glitter and I especially love being swept off my feet.


This year my Valentine’s are made from all the paper-craft love I could muster. I made box cards for family,  treats for work and of course something for my honey.

First up, I made the  Hearts for Days box card from SVG Cuts with my Cricut Explore. This is one of my favorite box cards and goes together so easily.

Next, I made the Lollipop Garden also from SVG Cuts. Each tulip has a Blow Pop for a total of 9 sweet treats!

I also made these cute lollipop holders from the Silhouette store.


I hope you have a great Valentine’s Day and thanks for stopping by!

Rina 

http://craftenabler.blogspot.com/2015/02/paper-craft-love.html


P.S. I also entered the following challenges; you still have time to enter your craft project too!
Decorate to Celebrate- http://decoratetocelebrate.blogspot.com/2015/02/challenge-93-anything-goes.html
PDE Linky Party- http://pdelinkyparty.blogspot.com/

<a href=”http://www.bloglovin.com/blog/13819689/?claim=e5d72uw4s9k”>Follow my blog with Bloglovin</a>
3 Comments

A Little Thank You Goes A Long Way

| Uncategorized

I love to make thank you gifts to show my appreciation and here is my most recent project. 

I created Thank You gift bags. The bag topper is an image from the Silhouette store that I cut out on my Portrait. I added them to standard size plastic candy bags and filled them with an assortment of treats.

I added enamel dots that I baked from Perler dots and I think they added just the right touch to the flower center.

Hope you enjoyed my project. Thanks for stopping by!

Rina
Comments Off on A Little Thank You Goes A Long Way

DIY: Make Your Own Enamel Dots

| Uncategorized

If you are like me, you are a craft hoarder. I constantly buy scrapbook paper, card stock, embellishments, ATG tape, glitter, etc…the list goes on and on and of course includes enamel dots.


Until I learned that I could DIY enamel dots also!!!!

Supplies: Perler Beads, Parchment Paper, Cookie Sheet and oven

Preheat your oven to 400 degrees. Place each Perler bead on parchment paper on top of a cookie sheet. I tried to give each bead a little bit of space.

Place your beads in the oven and let them bake for 12 minutes. If they have a little indent you can turn the oven off and let the beads continue to bake while the oven cools.

Once the beads are too your liking, pull them out of the oven and allow them to completely cool and tada! Your very own enamel dots for all your crafty projects. 


Thanks for stopping by!

Comments Off on DIY: Make Your Own Enamel Dots

Happy Birthday Mini Album

| Uncategorized

January is my birthday month but I also share this birthday month with my dad, two brothers, a sister in law and my nephew! Whew, that’s a lot celebrations and a lot of gifts!


In honor of my birthday month, this week I finished a Happy Birthday Mini Album.
This album is 6.75 x 5.50 inches. Each page has a pocket with tags on one side and the other side has room for pictures or other keepsakes. There are a total of 16 tags.
I just love all of the designer paper I was able to use to decorate each cupcake! Plus there is room for pictures on one side and the other holds cute tags.
The tags are probably my fav! I used a different tag for each cupcake and added tulle or ribbon for the pull.
If this is your birthday month also, Happy Birthday to you! I hope you enjoyed my project.

Thanks for stopping by!

Rina
Comments Off on Happy Birthday Mini Album